公式通りに行います。
sudo yum install -y curl policycoreutils-python openssh-server
sudo systemctl enable sshd
sudo systemctl start sshd
sudo firewall-cmd --permanent --add-service=http
sudo systemctl reload firewalld
sudo yum install postfix
sudo systemctl enable postfix
sudo systemctl start postfix
CE版インストール
# curl https://packages.gitlab.com/install/repositories/gitlab/gitlab-ce/script.rpm.sh | sudo bash
# sudo EXTERNAL_URL="http://IPアドレス or ホスト名" yum install -y gitlab-ce


※数分待つ


     _______ __  __          __
    / ____(_) /_/ /   ____ _/ /_
   / / __/ / __/ /   / __ `/ __ \
  / /_/ / / /_/ /___/ /_/ / /_/ /
  \____/_/\__/_____/\__,_/_.___/


Upgrade complete! If your GitLab server is misbehaving try running
  sudo gitlab-ctl restart
before anything else.
If you need to roll back to the previous version you can use the database
backup made during the upgrade (scroll up for the filename).

  検証中                  : gitlab-ce-11.9.4-ce.0.el7.x86_64                                                    1/1

インストール:
  gitlab-ce.x86_64 0:11.9.4-ce.0.el7

完了しました!
https://ホスト名/とすると自動でLet’s Encryptが走るがオンプレなので行わない。
Reconfigureの実行
# sudo gitlab-ctl reconfigure
もくじ
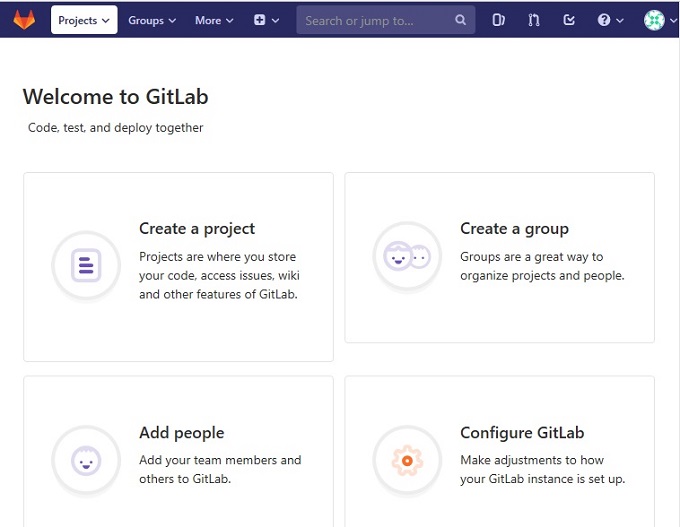
GitLabにアクセスしよう
管理者パスワードの設定
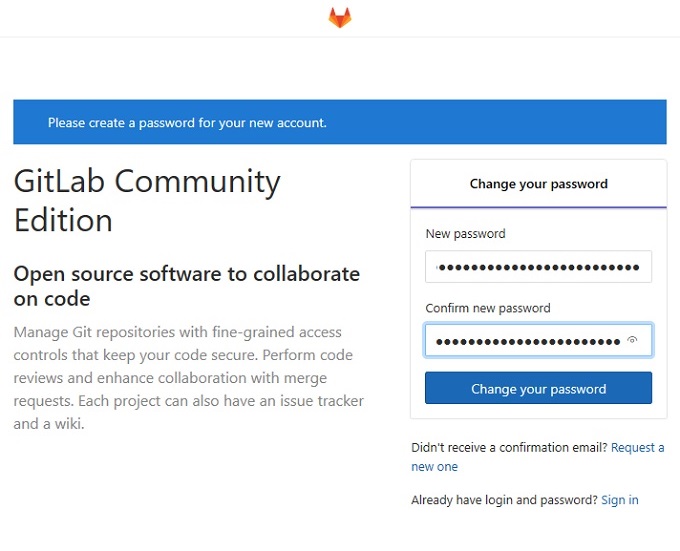
http://IPアドレス
ログインする
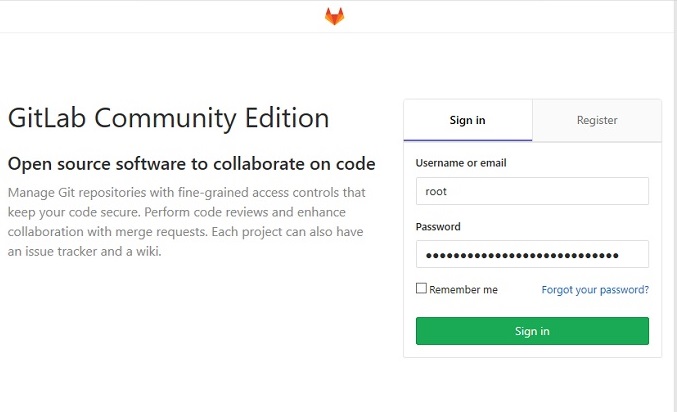
http://IPアドレス/users/sign_in
お疲れ様です。
※エンタープライズ版インストールはこちら
# curl https://packages.gitlab.com/install/repositories/gitlab/gitlab-ee/script.rpm.sh | sudo bash
# sudo EXTERNAL_URL="http://IPアドレス or ホスト名" yum install -y gitlab-ee
関連記事 - More from my site -
 GitLab 2段階認証
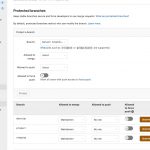 GitLab Repository 保護設定 protected setting
 うごうご動け! GitLab Runner
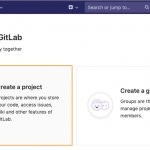 Git-flow + GitLab.com
 CI/CD引継ぎ日誌。GitLab Laravel環境のCI/CD オートスケール 対応
 【resolve】GitLab remote:The project you were looking for …
 GitLab MRがMergeされたmasterからMRを取り消す revert
 Ansible Datadog Agent Ubuntu
 Linux zipコマンド git関連ファイルを除外
![平均差の信頼区間とt検定[NOINDEX]](https://www.yuulinux.tokyo/contents/wp-content/uploads/2017/11/sinrai_20181104_1-150x150.jpg) 平均差の信頼区間とt検定[NOINDEX]
平均差の信頼区間とt検定[NOINDEX] ActiveDirectory スペックとDC数の推奨値、障害対応について。
 composer install update違い
 AWS CodeDeploy 入門用 インプレースデプロイ
 Mac alp nginxのログ解析