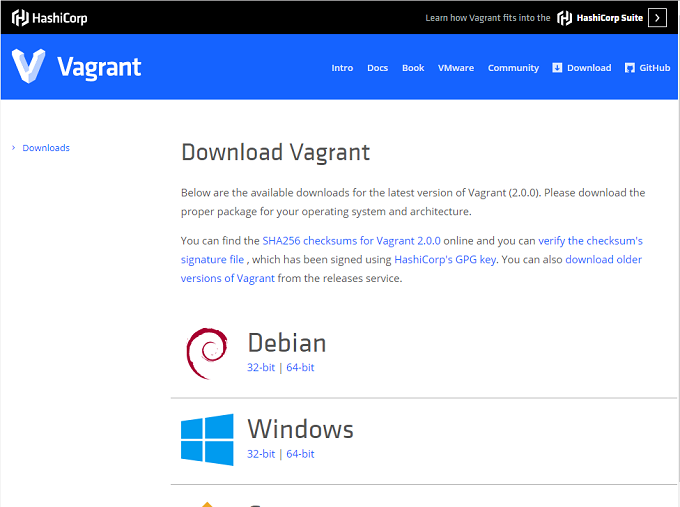
https://www.vagrantup.com/downloads.html
vagrantboxのBOXリポジトリ。※今回は使わない。
https://app.vagrantup.com/boxes/search
Vagrant+VirtualBox+Ansibleの組み合わせて使うと吉。…今回はAnsibleは扱わないですが。
もくじ
環境
- Windows8.1
- Vmware VirtualBoxインストール済
- CentOS7 iso
Vagrantインストール
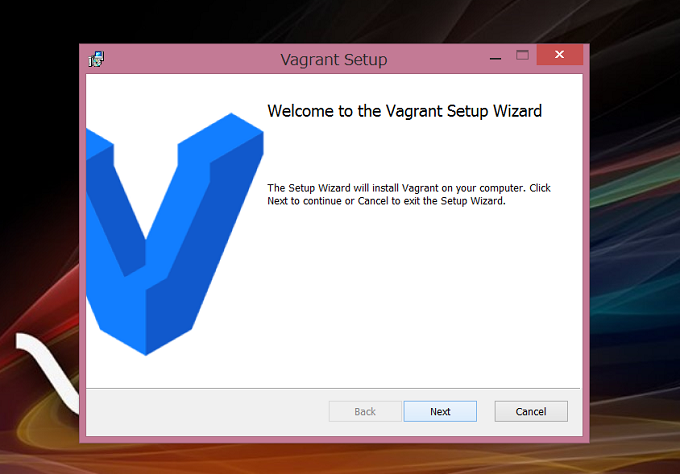
最後に再起動をかけることになります。
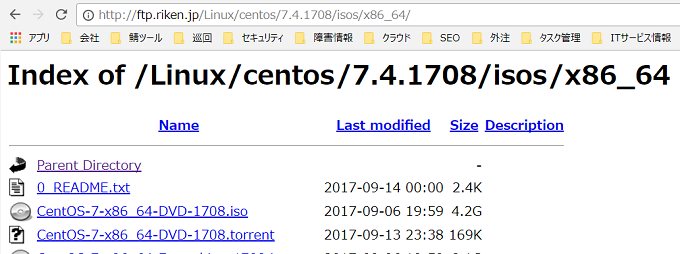
rikenからCentOS7のisoを取得します。
通常通りVirtualBoxでサーバを作成して下さい。
VirtualBox
- 構成:minimum
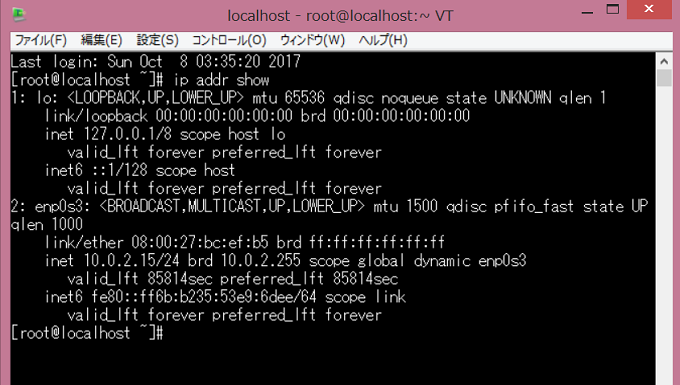
- ネットワークアダプタ:NAT
- 通信インターフェイス:DHCP
- rootパスワード:vagrant
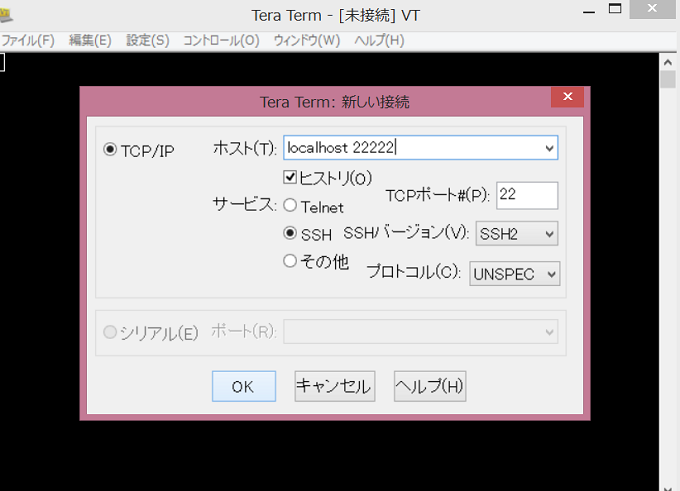
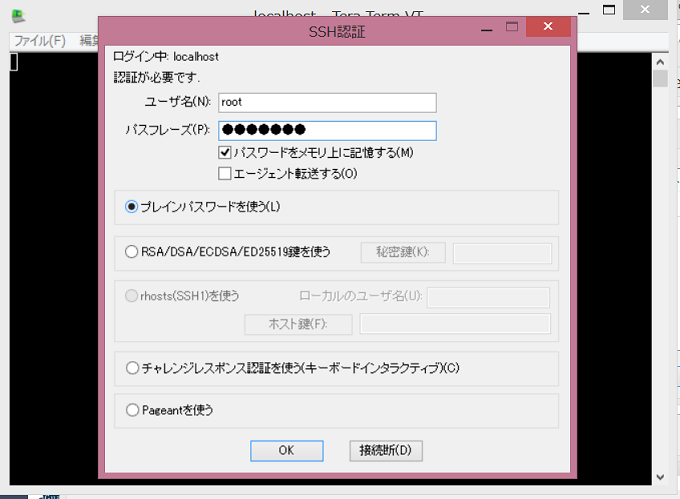
SSHポートフォワーディング


基本インストール
# sudo yum groupinstall "Development Tools" "Base"

# sudo yum install gcc gcc-c++ pcre-devel zlib-devel make wget openssl-devel libxml2 libxml2-devel libxslt-devel libxslt libxslt-devel gd-devel perl-ExtUtils-Embed GeoIP-devel gperftools-devel flex libmcrypt libtool-ltdl libtidy libXpm libtiff gd-last autoconf automake gmp gmp-devel libgmp.so.3 libssl.so.6 kernel-devel

# sudo yum update


# reboot now
# useradd -m vagrant

# passwd vagrant

ユーザー vagrant のパスワードを変更。
新しいパスワード:
よくないパスワード: このパスワードは 8 未満の文字列です。
新しいパスワードを再入力してください:
passwd: すべての認証トークンが正しく更新できました。
mkdir /home/vagrant/.ssh
chmod 700 /home/vagrant/.ssh
cd /home/vagrant/.ssh
curl -k -L -o authorized_keys 'https://raw.github.com/mitchellh/vagrant/master/keys/vagrant.pub'
chmod 600 /home/vagrant/.ssh/authorized_keys
chown -R vagrant.vagrant /home/vagrant/.ssh
# visudo


## Allow root to run any commands anywhere
root    ALL=(ALL)       ALL
vagrant ALL=(ALL)       NOPASSWD: ALL
# su - vagrant
環境を作って下さい。
省略しましたが、私の場合はシンプルなLAMP環境を作りました。
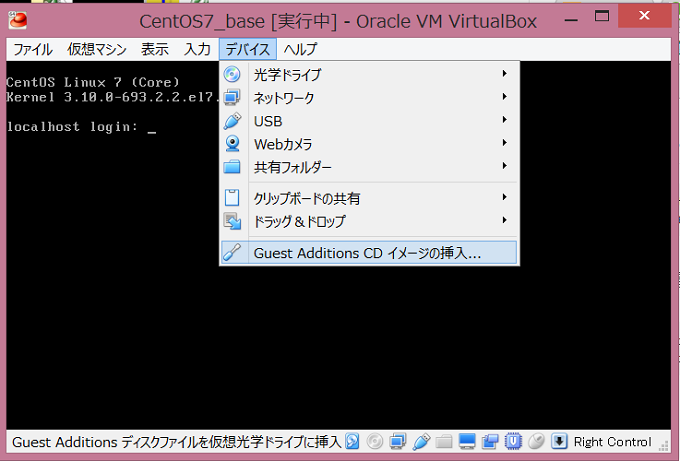
Guest Additions CD
$ exit
root権限で実行します。
mkdir /media/cdrom
mount -r /dev/cdrom /media/cdrom
sh /media/cdrom/VBoxLinuxAdditions.run


Verifying archive integrity... All good.
Uncompressing VirtualBox 5.0.24 Guest Additions for Linux............
VirtualBox Guest Additions installer
Removing installed version 5.0.24 of VirtualBox Guest Additions...
Removing existing VirtualBox non-DKMS kernel modules[  OK  ]

Broadcast message from systemd-journald@localhost.localdomain (Sun 2017-10-08 06:42:26 JST):

dracut[1456]: Can't write to /boot/initramfs-: Directory /boot/initramfs- does not exist or is not accessible.


Message from syslogd@localhost at Oct  8 06:42:26 ...
 dracut:Can't write to /boot/initramfs-: Directory /boot/initramfs- does not exist or is not accessible.

Broadcast message from systemd-journald@localhost.localdomain (Sun 2017-10-08 06:42:26 JST):

dracut[1518]: Can't write to /boot/initramfs-: Directory /boot/initramfs- does not exist or is not accessible.


Message from syslogd@localhost at Oct  8 06:42:26 ...
 dracut:Can't write to /boot/initramfs-: Directory /boot/initramfs- does not exist or is not accessible.
Copying additional installer modules ...
Installing additional modules ...
Removing existing VirtualBox non-DKMS kernel modules[  OK  ]
Building the VirtualBox Guest Additions kernel modules
Building the main Guest Additions module[  OK  ]
Building the shared folder support module[  OK  ]
Building the graphics driver module[  OK  ]
Doing non-kernel setup of the Guest Additions[  OK  ]
Starting the VirtualBox Guest Additions Installing the Window System drivers
Could not find the X.Org or XFree86 Window System, skipping.
[  OK  ]
# umount /media/cdrom
Udev削除
rm -f /etc/udev/rules.d/70-persistent-net.rules
rm -rf /dev/.udev/
rm -f /lib/udev/rules.d/75-persistent-net-generator.rules
$ sudo shutdown now
好みでポートフォワードの設定を削除する。
BOXのパッケージ化
vagrant package --base CentOS7_LAMP_base

Vagrantに登録
vagrant box add --name CentOS-7-x86_64-minimal-ja-LAMP-PHP70-MySQL56 package.box

確認
vagrant box list
実態ファイル
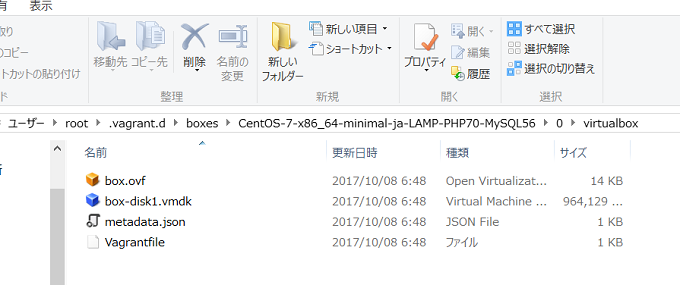
C:\Users\root\.vagrant.d\boxes
C:\Users\root\.vagrant.d\boxes\CentOS-7-x86_64-minimal-ja-LAMP-PHP70-MySQL56\0\virtualbox
別のPCにて作業
Windows Vagrantをインストールしておく。
BOXファイルを下記に設置する。
C:\Users\yuu\.vagrant.d\boxes\
C:\Users\yuu\> vagrant box add CentOS-7-x86_64-minimal-ja-LAMP-PHP70-MySQL56 package.box
※オリジナルの場所で模擬的に検証する場合
C:\Users\root\package.boxをpackage.box_orgにリネーム
C:\Users\root\Vagrantを削除
C:\Users\root>vagrant box list

CentOS-7-x86_64-minimal-ja-LAMP-PHP70-MySQL56 (virtualbox, 0)
C:\Users\yuu>vagrant init CentOS-7-x86_64-minimal-ja-LAMP-PHP70-MySQL56
設定の雛型、vagrantファイルが作成される。
指定したBOXから仮想サーバを作成する
C:\Users\yuu>vagrant up

Bringing machine 'default' up with 'virtualbox' provider...
==> default: Importing base box 'CentOS-7-x86_64-minimal-ja-LAMP-PHP70-MySQL56'.
..
==> default: Matching MAC address for NAT networking...
==> default: Setting the name of the VM: root_default_1507431569317_37323
==> default: Clearing any previously set network interfaces...
==> default: Preparing network interfaces based on configuration...
    default: Adapter 1: nat
==> default: Forwarding ports...
    default: 22 (guest) => 2222 (host) (adapter 1)
==> default: Booting VM...
==> default: Waiting for machine to boot. This may take a few minutes...
    default: SSH address: 127.0.0.1:22222
    default: SSH username: vagrant
    default: SSH auth method: private key
    default:
    default: Vagrant insecure key detected. Vagrant will automatically replace
    default: this with a newly generated keypair for better security.
作成できた。
SSHにてログイン
> vagrant ssh
Virtualboxの設定からネットワークをブリッジアダプタに変更する。
これでブラウザからWEBを確認できる。
プロビショニングする場合
Vagrantファイルを各自に配布して、vagrant provisionコマンドを実行して貰う。
C:\Users\root\Vagrant
# -*- mode: ruby -*-
# vi: set ft=ruby :
## 追加
script = <<SCRIPT
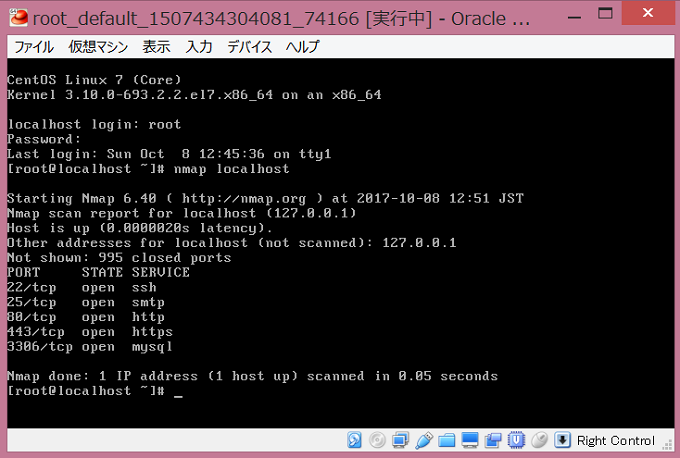
yum install -y nmap
SCRIPT
Vagrant.configure("2") do |config|
config.vm.box = "CentOS-7-x86_64-minimal-ja-LAMP-PHP70-MySQL56"
##追加
config.vm.provision :shell, :inline => script
end
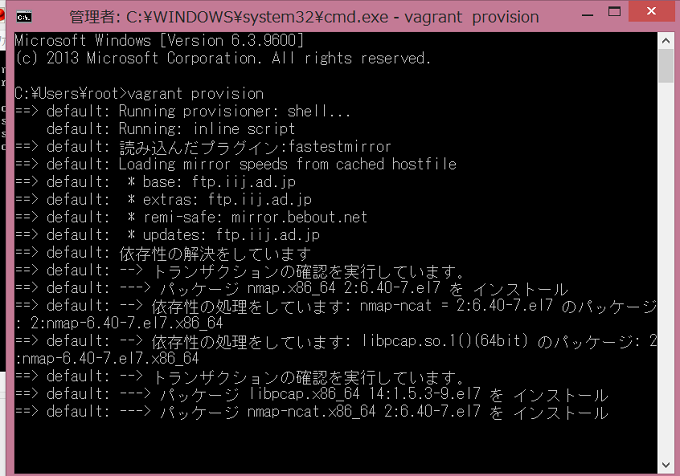
> vagrant provision
関連記事 - More from my site -
 Ansibleで構成管理
 YAMAHAルータ VPN対地数 メモ
 Mac Docker Desktopの再インストール
 Ubuntu upgradeされたパッケージ一覧を取得する
 二分探索(バイナリーサーチ) PHP
 ECS APP Meshのポートなど
 Composer インストール PHP
 シンプルフォームAPI
 Postfix キャリア向けにメール送信量を調整する
- AWS CloudWatchでオートスケールの複数EC2 モニタリング
 sed 変数で置換 パスの値を利用した置換 Linux Ubuntu
 Golang Lint Error ineffectual assignment to hubGroupIDs (ineffassign)
 鶏もものまよぽん
 Laravel Slack通知